Initial Web Portal Configuration
A Web Portal is connected to a single Registration Server. On the other hand, Registration Server may be connected to multiple Web Portals, with each Web Portal responsible for a different Provider.
A single Web Portal can also provide web services for the users of a number of Providers, as long as the Providers are all on the same Registration Server.
A Web Portal that is configured to support an specific external Authentication Service has further restrictions. Such a Web Portal can only support one external Authentication Service. However, this is normally not necessary because the Web Portal will automatically re-direct to the external authentication service associated with the user (see Configuring Active Directory / LDAP Authentication Services for more details).
Associating the Web Portal with a Provider
Before you can activate your Web Portal you need to associate your Web Portal with a specific Provider account on the Registration Server. This can be performed via the Registration Server’s Admin Console, which you can usually access via the following URL:
https://regserver.yourdomain.com/adminconsole/
Please see the Registration Server Manual for details. Note that Registration Server 5.0 is required to run a Web Portal.
Log in with your provider login and click the tab Providers and then click on Manage Domains & Services. In the section Services, click Add Service.
Enter a Service name, choose type Web Portal, enter the Login URL (https://your-domain.com), choose Authorisation MD5 Endpoint specific key and enter the IP Address of the webportal in in IP Address List. Click on Add Service. In the new service entry, click Show key and copy the key needed in the next chapter.
Now, copy the Service name and click on Providers –> Provider Settings and in the lower tab-list on Webportal. Add the setting WEBPORTAL_SERVICE_NAME and enter the copied Service name in the value-field. Click on Save to store the value.
As mentioned above, it is possible to associate the use of a single Web Portal with a number of Providers. If this is desirable, then follows the procedure to set the WEBPORTAL_SERVICE_NAME for the addition Providers.
Only users of the Providers associated in this manner will be able to access the Web Portal.
Activating the Web Portal
From a desktop system that can connect to the Web Portal via HTTPS, start a web browser like Mozilla Firefox, Google Chrome (or any other modern web browser) and start the configuration process by opening the following URL in your browser:
https://webportal.yourdomain.com/admin/
This should open the Web Portal Setup page. If you get an error message like “500 Internal Server Error”, check the log files for any errors. See chapter Web Installation: “500 Internal Server Error” for details.
Note
If you haven’t replaced the server’s self-signed default SSL certificate yet, your web browser most likely will complain about an untrusted/insecure connection. Either replace the SSL certificate with an appropriate one before you proceed, or ignore this message.
Alternatively, you can access the Setup Page via an unencrypted HTTP
connection. You will have to uncomment the rewrite rules in the apache config file
/etc/httpd/conf.d/td-webportal.httpd.conf in order to enabled HTTP
access. When you access the setup page using HTTP you will be prompted to
proceed using an insecure connection.
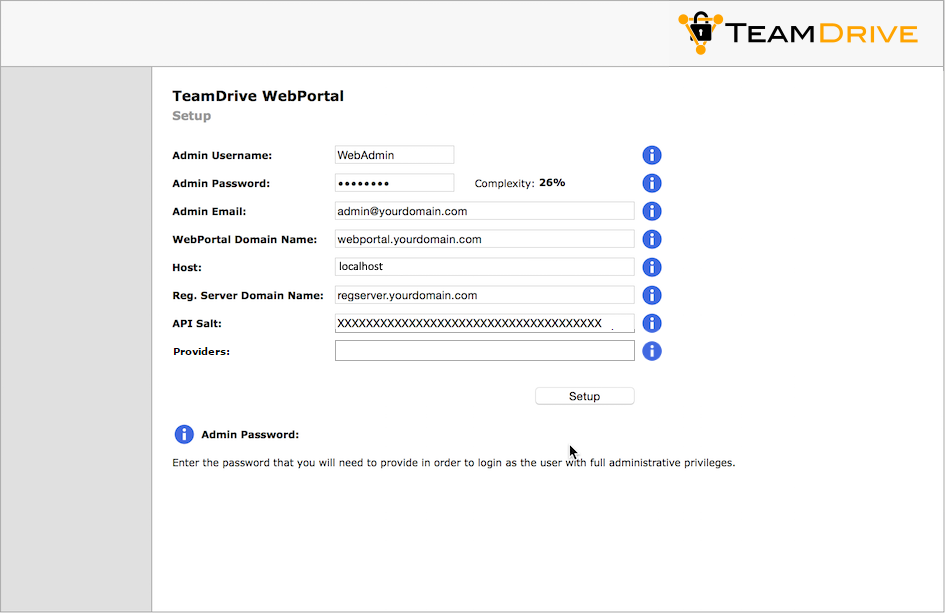
When everything is configured correctly, you will see the TeamDrive Host Server Setup page that will guide you through the initial configuration:

Web Portal Setup Page
Fill out the fields according to your environment and requirements:
- Admin Username
- The name of the user account with full administrative (superuser) privileges.
- Admin Password
- The administrator password that you need to provide to login to the Web Portal Administration Console.
- Admin Email
- The email address of the Administrator. This field is optional. This email address is used for 2-factor authentication (if enabled).
- Web Portal Domain Name
- This is the domain name of the host running the Web Portal. It must be a fully-qualified and resolvable domain name.
- Registration Server Name
All Web Portals must be registered with a Registration Server. Enter the name of the Registration Server here. This is the value of the
RegServerNameRegistration Server global setting.Please contact TeamDrive Systems for the correct value if you don’t manage your own Registration Server.
- Registration Server Host
Enter the fully qualified domain name of the Registration Server here. Please contact TeamDrive Systems if you need assistance.
On the Registration Server, the IP address of the Web Portal must be entered in the appropriate Provider
API_WEB_PORTAL_IPsetting. This will identify the Web Portal when it calls the Registration Server to check user credentials.Setup will ping this host to ensure that the Registration Server is reachable.
- Authorisation Hashing & Key
- The Authorisation Hashing Key is a code that allows the Web Portal to validate
calls to the Registration Server’s API. This value must match the value of the
above
MD5 Endpoint specific keysetting on the Registration Server to avoid “man in the middle”-attacks. - Providers
- This is a comma separated list of Providers codes. Only users belonging to these Providers will be able to access this Web Portal. If you do not specify any Providers, then all users a the Registration Server will be allowed to login to the Web Portal.
After you have entered all the required details, click Setup to initiate the Web Portal configuration and registration process with the Registration Server. An error will occur if the setup process is unable to contact the Registration Server.
This may be due to either network problems or incorrect input, as indicated by the error message.
Installing the TeamDrive Agent
The current version of the TeamDrive Agent used by the Web Portal is stored in the
MinimumAgentVersion setting. The ContainerImage setting stores the name of the
Container image currently in use by the Web Webportal. If the version of the Agent in
ContainerImage is less than MinimumAgentVersion it will be automatically updated.
If this required TeamDrive Agent does not exist on the host then it will be automatically download and installed on your host.
To install or update the TeamDrive Agent used by the Web Portal use the upgrade command:
start yvva and execute upgrade_now;;:
[root@webportal ~]# yvva
Welcome to yvva shell (version 1.5.13).
Enter "go" or end the line with ';;' to execute submitted code.
For a list of commands enter "help".

UPGRADE COMMANDS:
-----------------
To upgrade from the command line, execute:
yvva --call=upgrade_now --config-file="/etc/yvva.conf"

upgrade_now;;
Upgrade the database structure and agent sandbox container (this command cannot be undone).
Leave the yvva shell by typing quit.
The agent binary must be added to the fapolicyd. The fapolicyd software framework controls the execution of applications based on a user-defined policy:
/usr/sbin/fapolicyd-cli --file add /opt/teamdrive/webportal/agent/teamdrived.bin --trust-file teamdrived
/usr/sbin/fapolicyd-cli --update
service fapolicyd restart
Setup and Administration
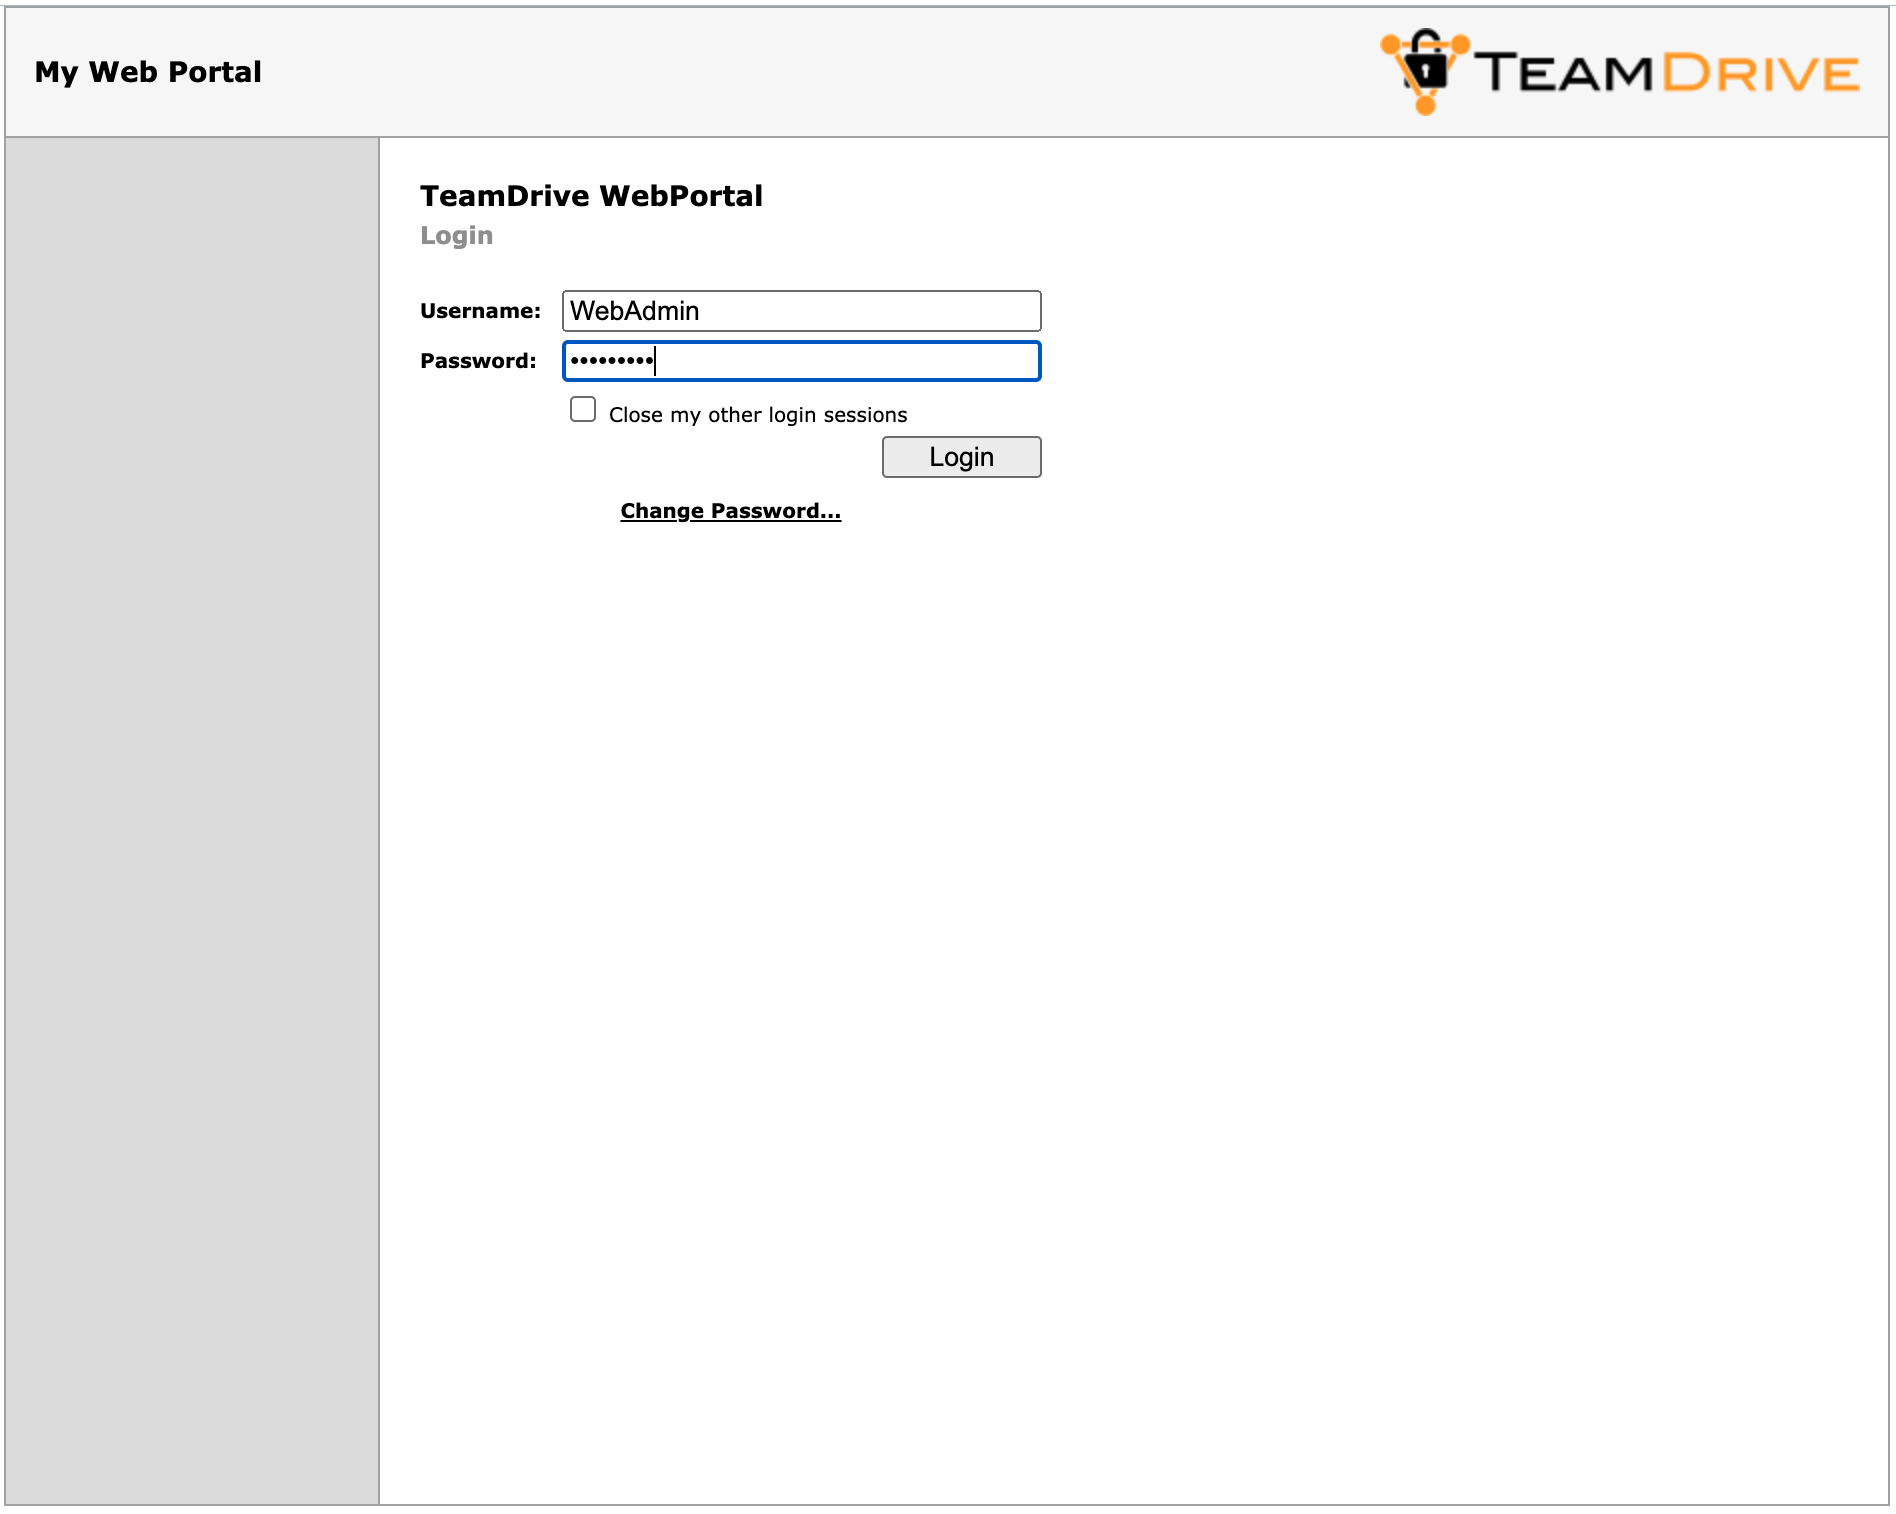
Upon successful configuration, you will be presented with the Web Portal’s Administration Console Login Screen.

Web Portal Admin Console: Login Screen
Enter the username and password you defined during the initial setup to log in.
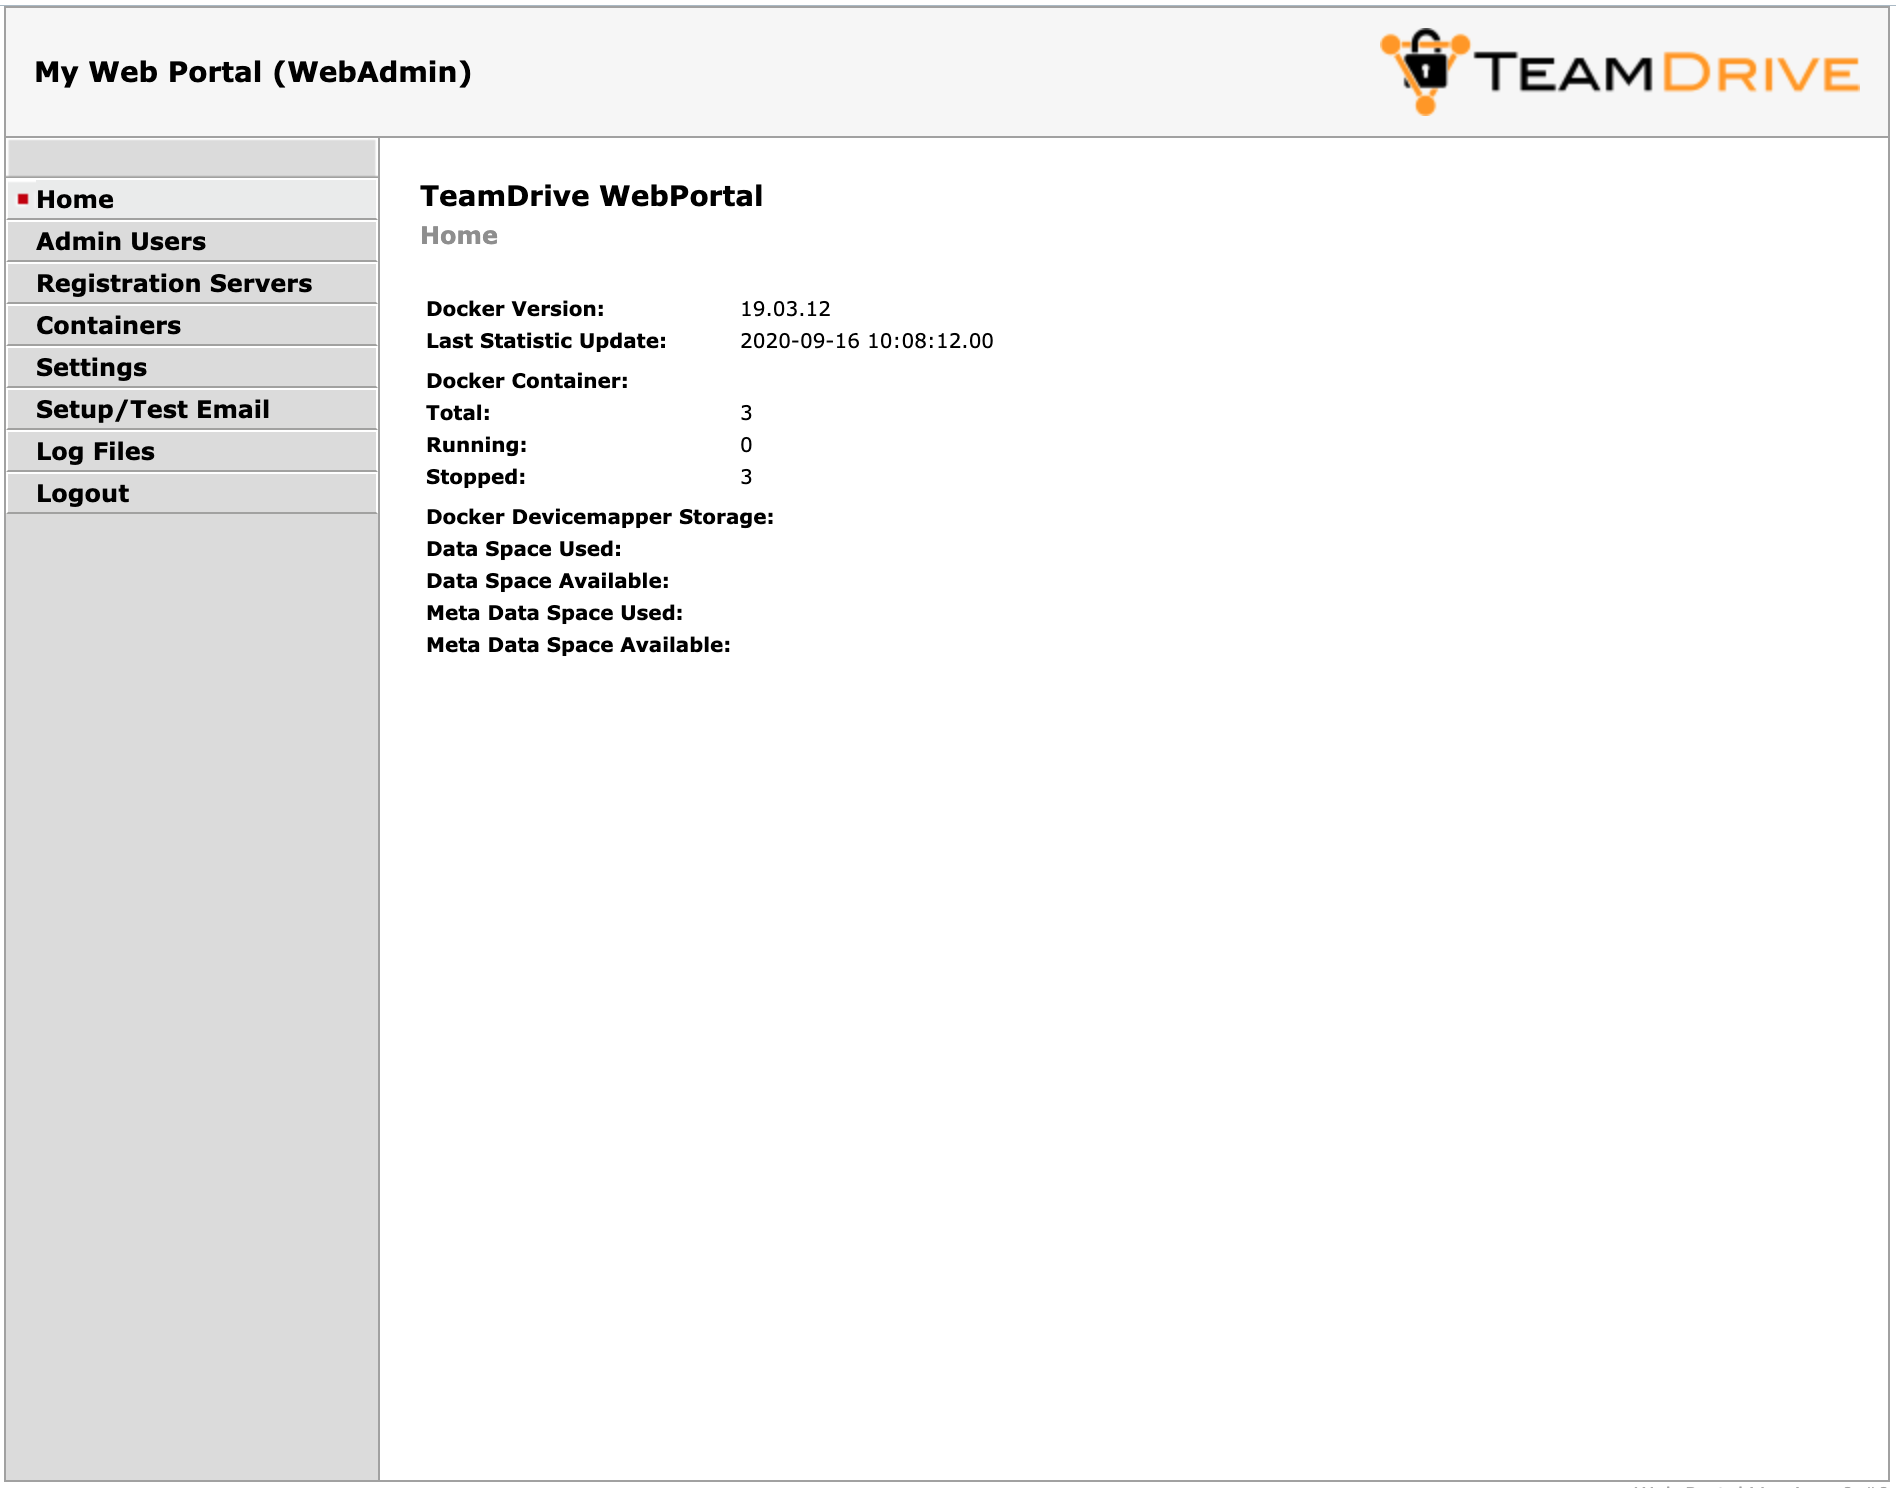
After login, you will see the Web Portal’s Administration Console Home Screen.

Web Portal Admin Console: Home Screen
At this point, you have concluded the Web Portal’s basic configuration and registration. See the TeamDrive Web Portal Administration Guide for more details on how to use the Administration Console and how to accomplish other configuration tasks. In case of using a white label version please proceed with the next step otherwise step over to the section Testing Web Access below.
Testing Web Access
The Web Portal has now been set up. To test its functionality, start a web browser and enter the URL of the Web Portal:
https://webportal.yourdomain.com/
Login to a user account belonging to one of the Providers associated with the Web Portal.
If login fails, check your username and password. If this is correct, begin by checking the Web Portals log file for errors.
The log file can be viewed by selecting the Log Files menu item and then clicking on td-webportal.log in the Web Portal’s Administration Console.